So you want to get started with Monero cryptocurrecy? Well the first thing you’re going to need is to get a Monero wallet and the best Monero wallet to use is the one available directly from Monero using with the GUI or command line.
In this beginners guide I’ll detail how to create a Monero Wallet using the Windows GUI, but the steps are essentially the same regardless if you are using Windows, Mac, or Linux.
Creating a Monero Wallet
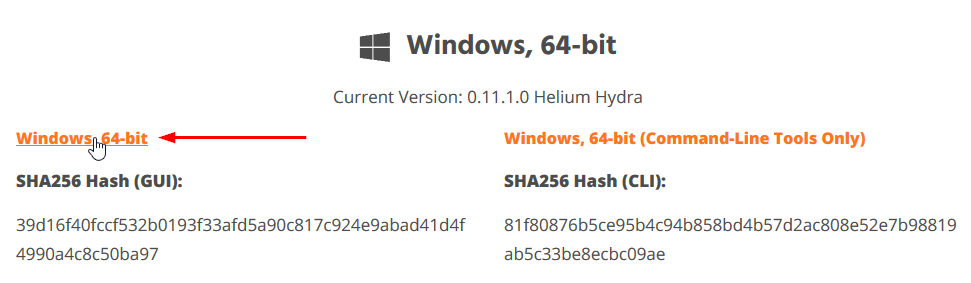
- First go to https://getmonero.org/downloads/ and download the application for your operating system, in this case I’ll be using Windows 64bit
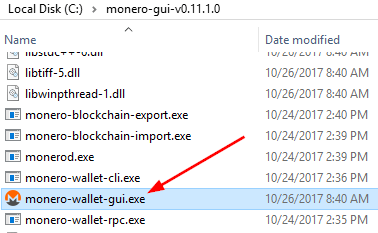
- Extract the file to a location you desire and run the file monero-wallet-gui.exe
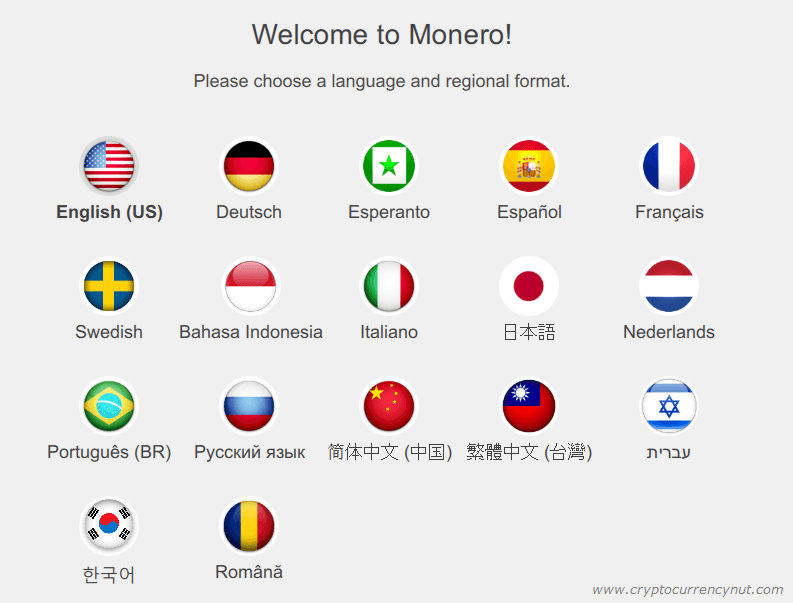
- Next select your desired language.
Note: If you are using Windows Firewall you may be prompted to allow communication for the Wallet. Simply select each network and click on “Allow access”.
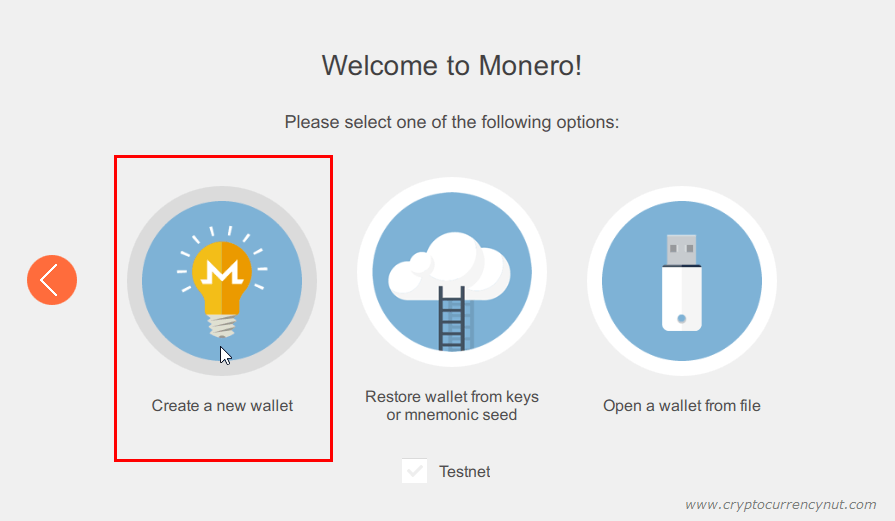
- Now select “Create a new wallet”
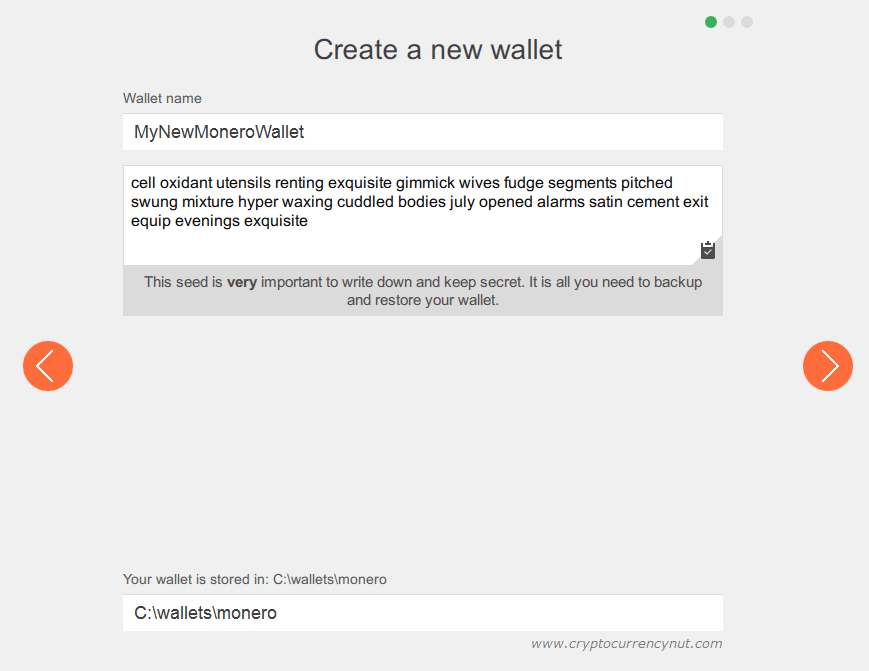
- Give your new wallet a name and make note of your seed. The seed is VERY important as it’s the only way to restore your wallet. NEVER share your Monero seed with anyone as this will give them complete access to your wallet. Secure and backup your Monero wallet seed!
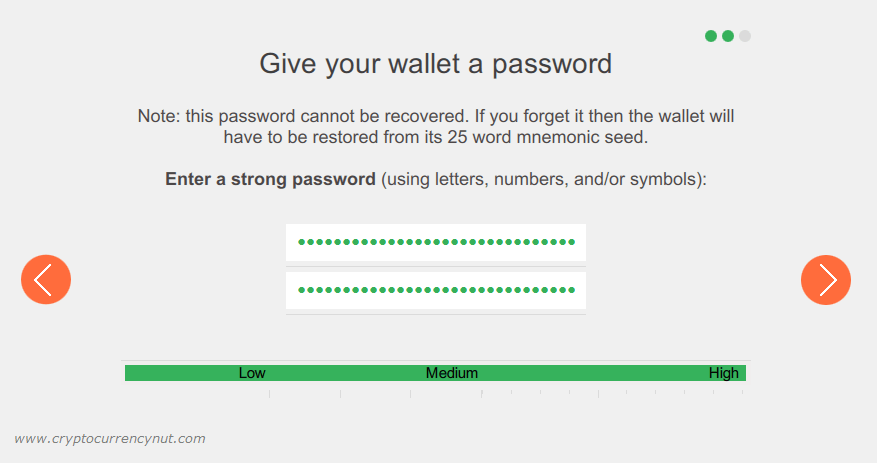
- Next you’ll want to set a secure password for your monero wallet.
- Finally confirm the settings and then click on Use Monero.
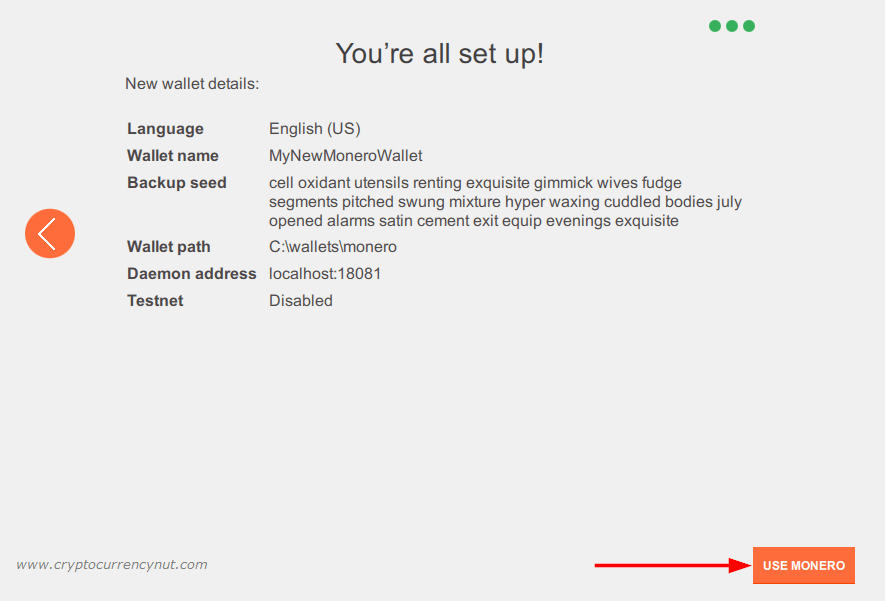
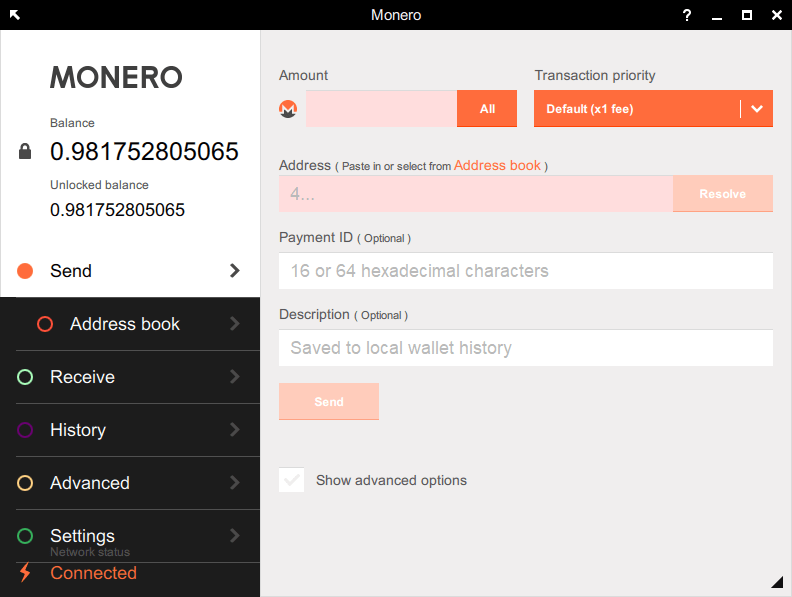
You are now ready to start sending and receiving Monero cryptocurrency!